Looking Forward to the Season
AT THIS time of the year, all greenkeepers wonder what the new outdoor season will bring. The decisions that were made throughout the winter will decide how well the green will perform during the summer.
Have you done enough spiking? Was the thatch cleaned out thoroughly? Has the seed germinated efficiently? Is it going to be a dry spring? How soon do we have to lower the mower blades? How will the turf fare if there is a drought?
Only by proper preparatory work in the winter and forward planning can some of these problems be alleviated.
Top Tips on a Tip-Top Surface…
- Spike as often as possible in the closed season. If the turf is dry, create autumn conditions and water to enable the spikes to enter easily to maximum depth. Frequency of spiking will reduce the risk of drought damage if there is a prolonged dry spell, although we live in hope on that one!
- Thatch removal: Ensure the turf is moist enough when scarifying so that the plant can recover from serious disturbance. This will help to prevent fungi attack in damaged tissue.
- Rolling should have been completed by March so that the green is firm before April so that if there is a dry spring the green will already be suitable for play.
Important Information…
It is important you understand the requirements of seed so that it is placed at the correct depth which for Fescue is 10mm, whilst Agrostis needs to sit on the surface and the soil needs to be kept moist for germination and establishment. The effective depth for grass seed to be sown is twice the length of the seed e.g. with Fescue, sow it at approx 10mm-12mm deep (half an inch), but Agrostis needs to finish on top of the soil. If these directions are ignored then the grass will struggle to establish effectively. A Bray-seed slotter was designed especially for the successful germination of seeds of 5mm long, e.g. Fescues, for bowls and golf greens and rye for other sport surfaces.
WARNING!
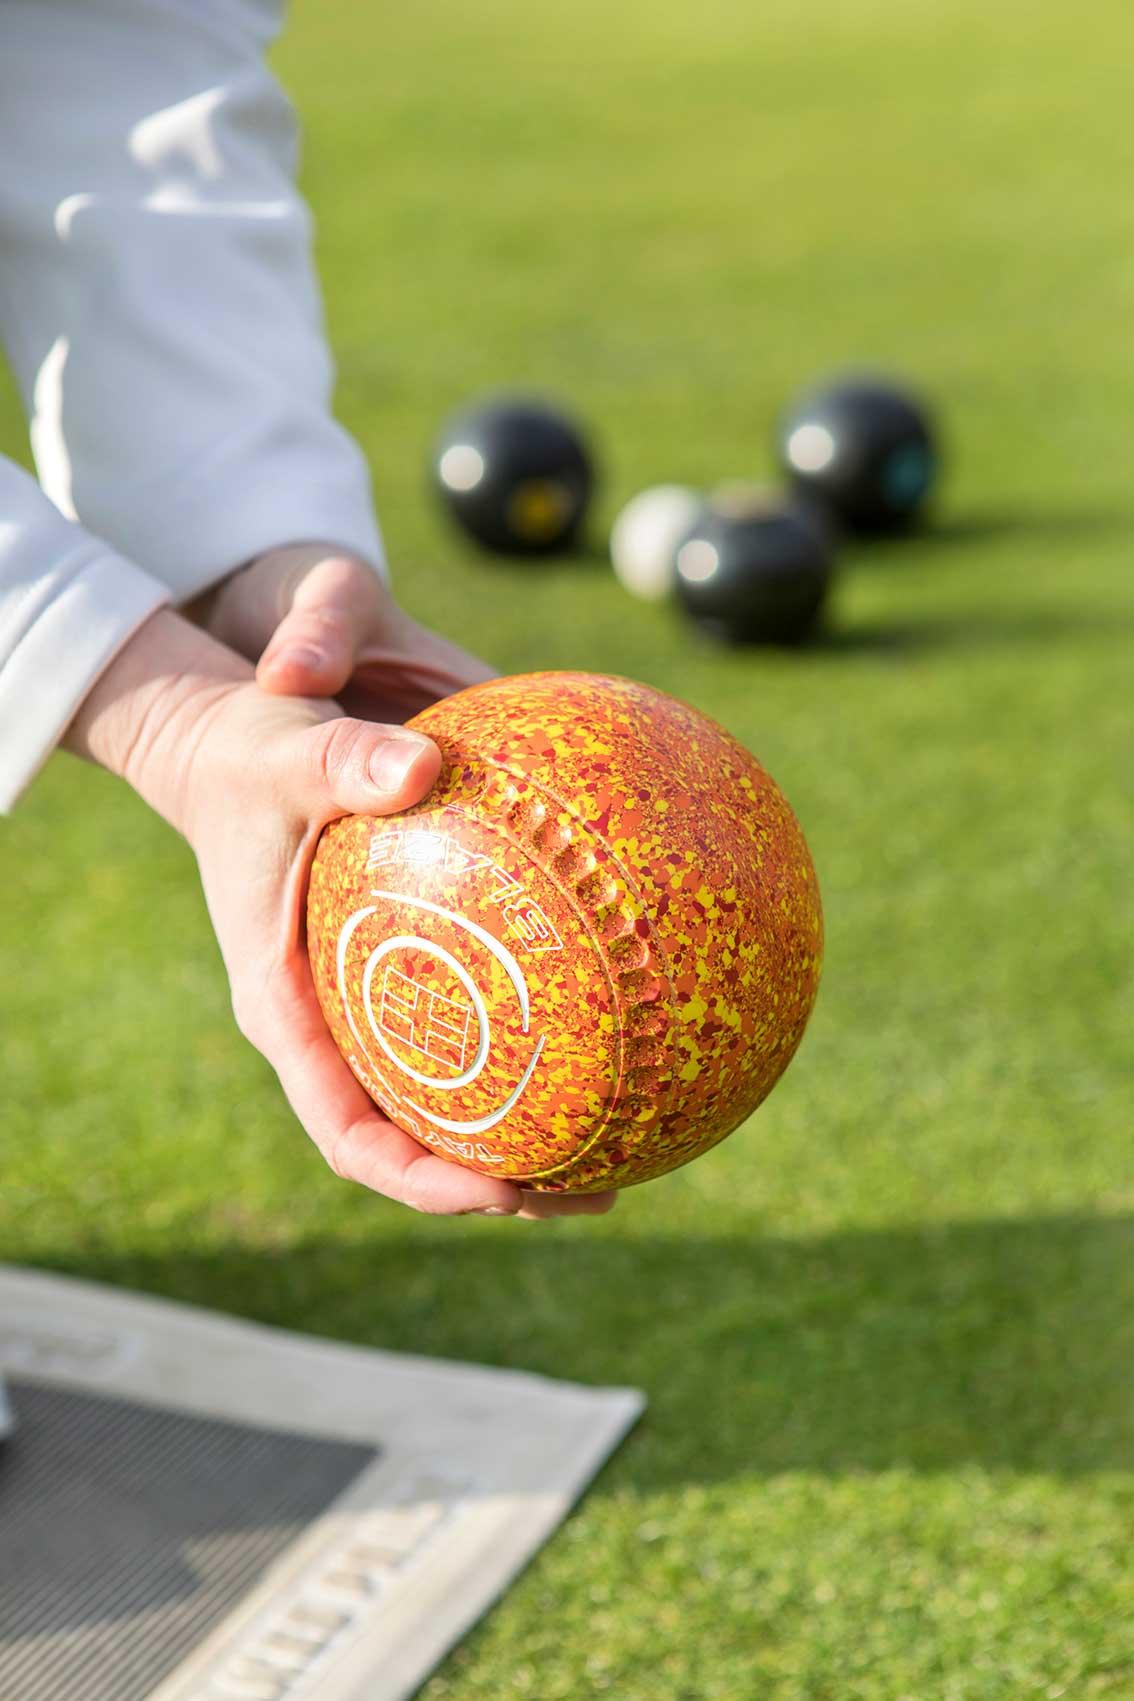
Do not be tempted to lower the mower blade too early in the season for damage can occur on the turf from players dropping bowls. Try to aim that your height of cut will be around 6mm to 7mm at the beginning of the season, subject to weather conditions.
Be Prepared…
Have mats ready for use in case of inclement weather. Be prepared to lower the height of cut to the normal 5mm once the turf has started to thicken out. Grasses are not happy if the cut is below 5mm, as they start to suffer from stress.
If the weather turns very dry, reduce mowing frequency or raise height of cut from 5mm to 6mm.
How to Speed up the Green…
Speeding up the green is not done by lowering the height of cut, but by cleaning out the thatch and scarifying the surface without touching the soil. In attempting to clean out the thatch, the important thing to remember is that it is the change of direction on the green with the thatch removal reel that makes the difference to the final result.
If the green hasn’t been thoroughly cleaned out of the dead, dying and diseased grass and moss, and also low growing weeds that have all accumulated during the summer, then it will be a major job to be undertaken in the autumn period.
How to Scarify…
It is advisable to scarify as often as necessary, at fortnightly intervals, because fungi will feed on the debris that is left undisturbed in the turf. Before the season starts, the direction in which you scarify is not important, but once the season is under way it is essential that you only scarify diagonally. This is to allow the bowl to draw on both hands equally which would not happen if you scarify any other way.
Do not go parallel to the side of the green (up and down) during or close to the start of the season because, as mentioned, this will influence the draw and the final resting place of the bowl.
There is a school of thought and advice given on the subject of scarifying that is completely misleading and misguided concerning bowling greens. The misleading advice concerns scarifying off line from the diagonal with the idea that slightly changing the direction still allows you to cover the turf but in a different way.
This idea would be fine on ornamental lawns, golf or putting greens or any other turf area, but doesn’t allow for bowling greens. It must be realised that we rely on the bowls following their natural trajectory and by scarifying diagonally and not deviating from that diagonal under any circumstances the bowl will run true to its bias.
Any deviation from the true diagonal will influence where the bowl finally rests, which is of great importance to bowlers. Please do not follow any other advice regarding direction of scarifying on the bowling green, however well intentioned, because the bowl cannot decipher a change of routine and will always follow its natural bias.
REMEMBER: DO NOT DEVIATE FROM THE TRUE DIAGONAL WHEN SCARIFYING.
The most efficient way to scarify is from corners 1 to 3 and then from corners 2 to 4, ideally on the same day, which will present the green being able to draw on both hands. The next session to carry out the job properly will be to scarify from corners 3 to 1 and then from corners 4 to 2, once again on the same day to achieve the draw on both hands. If you were only to scarify on the one diagonal then it is obvious that the draw would be on one hand only which is not good.
Another important point to remember when scarifying is that you do not dig into or touch the soil with the blades because you are only intending to comb out debris from the turf itself.
FINAL TIP
Be prepared to adjust and modify your decisions according to the variable weather conditions.